Automatic Door Lock Using Arduino and IR Sensors
DESCRIPTION
Hello guys, welcome to another instructable. Have you ever wondered how the automatic doors in malls or offices work?? Well they consist of sensor mechanisms that senses the presence of humans and sends the signal to the control board which decides if the door has to open or remain closed. Today we will make a similar project using an Arduino Uno and IR sensors. Let's get started !!!


 3 More Images

I recommend UTSource for buying the components for this project. They provide high quality components at affordable rates and deliver them at your door step on time. Also check out their PCB Services to make PCB's up to 16 layers.
The components required are as follows -
2. IR Sensor Modules X 3
3. Relay Module
4. DVD Writer
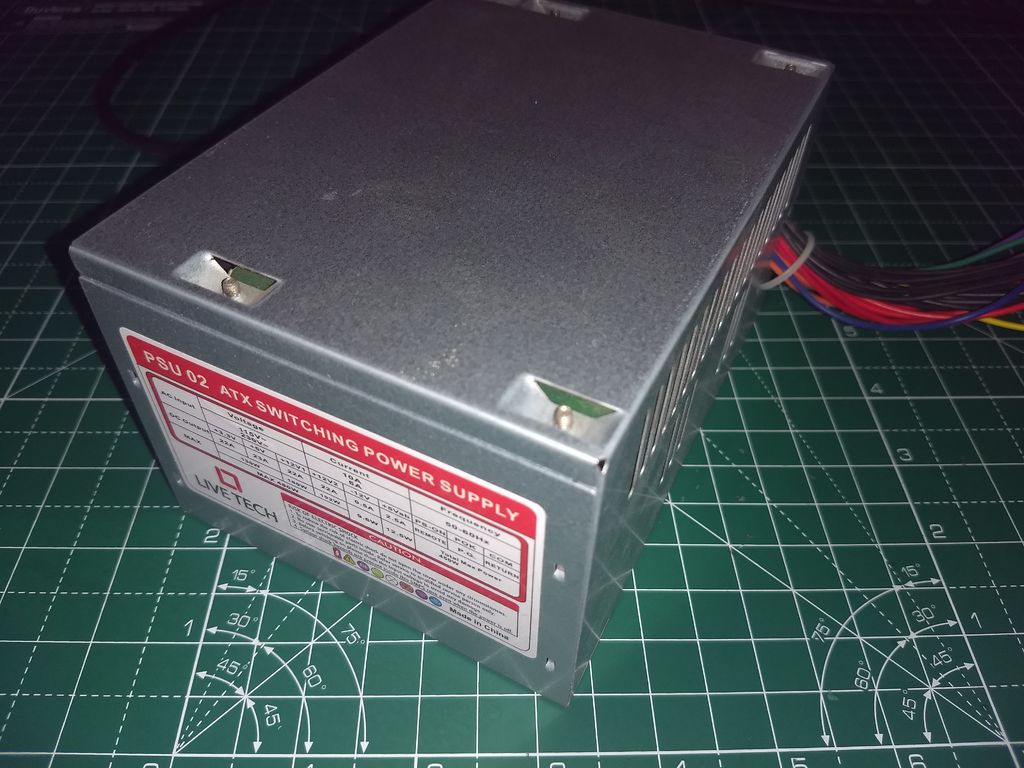
5. SMPS (for powering the DVD writer)
6. Connecting Wires

The working of this project is quite simple. I used three IR Sensors. Two of which are used to determine whether there is a person standing at any side of the door and the third sensor is used to get the status of the door. Using three sensors gives us a total of 8 possible outcomes. I have shortlisted the important ones in the table above. Refer that table to understand how this project functions. Once the sensor information is decoder the Arduino just sends a signal to the Relay and thus opens or closes the door. The door can either be on or off there is no in between so for all the four conditions I just sent a signal to the relay which will just toggle the door's position. You can also do that by using a flag to remember the previous position of the door. But I used three sensors so this method was easier.

Now open up the DVD player and solder two wires to the main push button which makes the dvd tray come out and go in. Now when ever you short the two wires(for a split second), the DVD tray comes out. That will be our door in closed state and then when you short the two wires again it will make the tray go in. That will be our door in open state.

Connect all the modules as shown in the diagram above. Connect the Vcc & Gnd pins of all the modules to the +5V and Gnd pin of the Arduino. Then connect the relay input pin to digital pin 13. Connect the three sensors (signal pins) to digital pin 2, 3 & 4 respectively.
Now connect the com pin of relay to any one wire of the DVD RW and connect the NO pin of the relay to the other wire of the DVD RW.
Note : These are the same wires we soldered to the main push button of the DVD RW.

I have already explained the working of this project. So the code will be easy to understand.
It just takes the inputs from the three sensors and compares them to the four outcomes which we derived from the table in the previous steps. If any of the statement is true then the Arduino triggers the relay for a split of second and the door changes its state.
You can download the code directly or you can copy it from below and paste it to your Arduino IDE.
const int Relay = 13;<br>const int sen1 = 2;
const int sen2 = 3;
const int sen3 = 4;
void setup()
{
  Serial.begin(115200);
  pinMode(Relay, OUTPUT);
  digitalWrite(Relay,HIGH);
  delayMicroseconds(2500);
  digitalWrite(Relay,LOW);
}
void loop()
{
  int val1 = digitalRead(sen1);
  int val2 = digitalRead(sen2);
  int val3 = digitalRead(sen3);
  Serial.println("SEN1");
  Serial.println(val1);
  Serial.println("SEN2");
  Serial.println(val2);
  Serial.println("SEN3");
  Serial.println(val3);
  if(val1==HIGH && val2==HIGH && val3==HIGH)
  {
    digitalWrite(Relay,HIGH);
    delay(250);
    digitalWrite(Relay,LOW);
  }
  else if(val1==HIGH && val2==LOW && val3==HIGH)
  {
    digitalWrite(Relay,HIGH);
    delay(250);
    digitalWrite(Relay,LOW);
  }
  else if(val1==LOW && val2==HIGH && val3==HIGH)
  {
    digitalWrite(Relay,HIGH);
    delay(250);
    digitalWrite(Relay,LOW);
  }
  else if(val1==LOW && val2==LOW && val3==LOW)
  {
    digitalWrite(Relay,HIGH);
    delay(250);
    digitalWrite(Relay,LOW);
  }
}
If you have any queries regarding the code, feel free to comment below.
Attachments


Here is the working video of the project. Try making it for yourself. Also let me know your experience about it. If you like my work then help me by sharing this instructable with your friends also drop a comment below.
Thanks for reading this instructable. You can follow me here to see more of my projects.
That's it for today guys. See you soon with another project.