DIY Magnetic Pen/Stylus Holder on SD Card for Laptop
DESCRIPTION
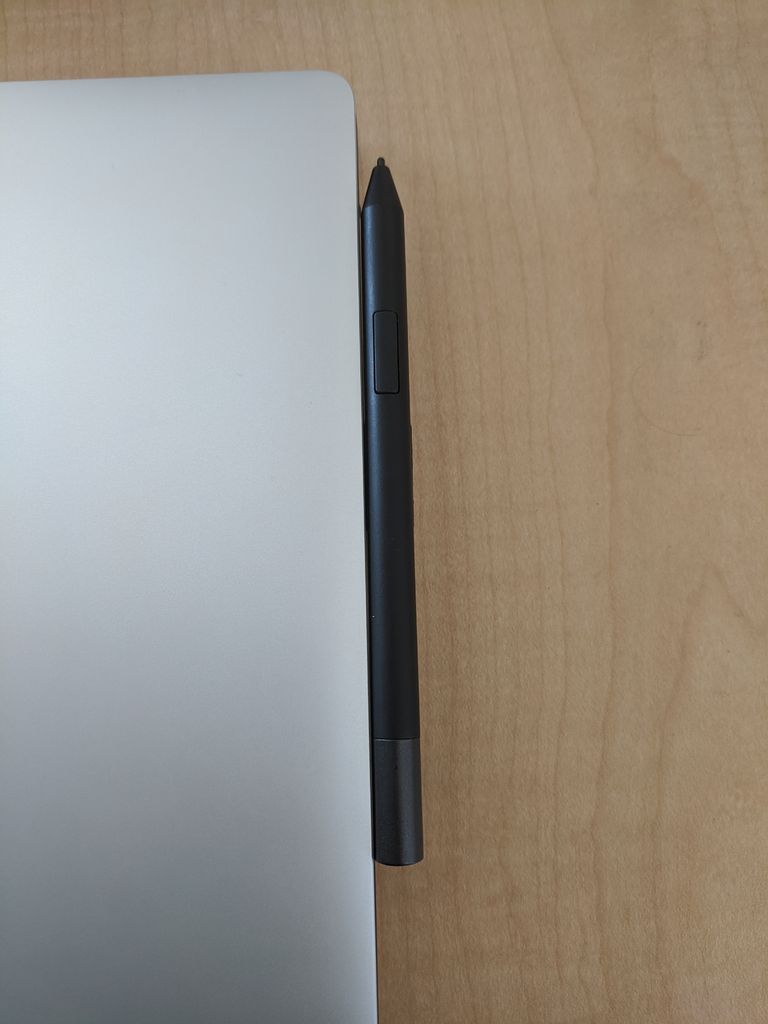
I started brainstorming on this project when I purchased a new Dell XPS 15 for school this year. I wanted to get a stylus to go with my new touchscreen laptop in order to take notes on the screen and mark up powerpoints during lecture, so I purchased a Dell Active Pen (PN579X). I got the pen, and love it, but wanted an easy way to attach it to my laptop. Most 2 in 1 laptops come with built in magnetic strips or clips on the side of the screen to attach your pen to, but the XPS 15 I purchased was a more traditional clamshell design that lacked these features, so I started thinking about how to securely keep my new stylus in place while not in use. Obviously, I didn't want to attach magnets directly to my laptop, but wanted something stable and not too labor intensive. After a few days of thinking, I had a "I got it!" moment. I decided to use the SD card slot reader as a platform for my stylus and use magnets on the underside to keep it in place.
Supplies:
For this instructable, you will need:
1. A magnetically enabled stylus (can check with any old fridge magnet, or on magnetic surfaces)
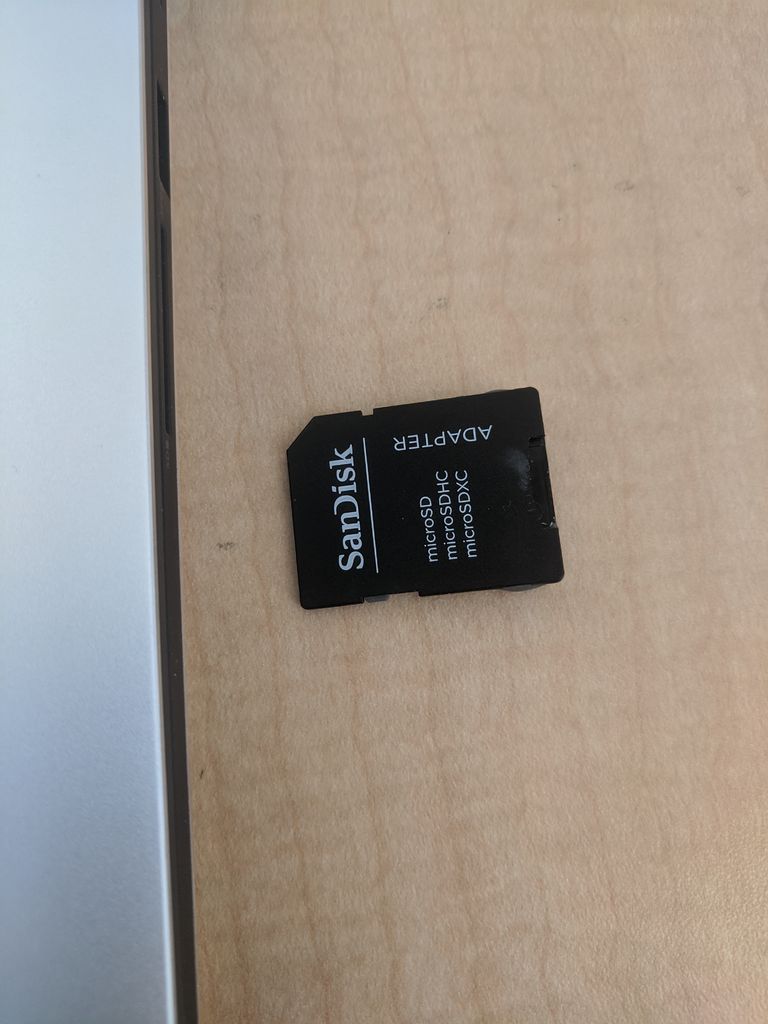
2. An SD card or microSD card to SD adapter - I chose the later so I wouldn't ruin the ability of an SD card to be fully inserted into cameras or deeper fitting card readers in the future. Plus, you'll always have a microSD card reader handy as well as your default SD card reader! Most microSD cards come with an SD adapter these days. For the purposes of this instructable, I will be referring to the side of the SD card with the metal strips on it as the "bottom" of the card and the other side as the "top". If your SD card reader is inverted, substitute my orientations for whatever surface will be on top or on bottom when your laptop is in normal operational orientation.
3. Three Neodymium Magnets - I had some old name tags lying around that used 3 of these magnets to attach to your shirt, stripping them out was easy and left me with 3 super strong magnets that are almost exactly the width of an SD card when lined up together.
4. JB Weld binary epoxy - To ensure the longevity of the hold, I used JB weld. Interestingly enough, JB weld is magnetic, which is almost any other use case would be a nightmare, but in this instance made things a whole lot easier for the curing phase.
5. Toothpicks or other mixing instrument to mix the epoxy, such as the shaft of a q-tip.
6. Cardboard to mix the epoxy on and keep mess to a minimum.
7. Magnetically attracted surface such as the backside of a name tag, or other metallic surface

1. Take your SD card and ensure that it sticks out far enough from the computer to allow the stylus to rest comfortably on top of it, and that your magnets can fit comfortably on the bottom of it. I have a space about 1 cm wide when my card is fully inserted.
2. Take your neodymium magnets and determine the best layout and orientation. The Dell Active Pen I purchased has only one polarized magnet, the rest of the pen has magnetically attracted metal built in that will be attracted to either side of the magnet. Test your orientation using a piece of plastic to keep your stylus and magnets separated.
3. Take out the JB Weld and squeeze equal portions of the black and tan epoxy next to each other on the piece of cardboard. Mix thoroughly until epoxy is a uniform grey color.
4. Ensuring that your magnets are oriented correctly nearby, place your SD card "bottom" side up on the cardboard and apply a 1/2 centimeter wide strip of epoxy across the end that will be sticking out of your laptop when it is fully inserted (opposite of the gold strips).
5. Once you have evenly spread this layer of epoxy on the "bottom" of the card, take your line of 3 neodymium magnets and place them on the epoxy and the card, ensuring that the orientation of the magnets is such that they will be attracting your stylus to them THROUGH the card. They will attach themselves to the JB Weld you've already applied.
6. Apply another layer of epoxy to the top of the magnets to fully encase them in epoxy and ensure that they will stay in place. You will see the JB weld spread itself over the surface of the magnets.
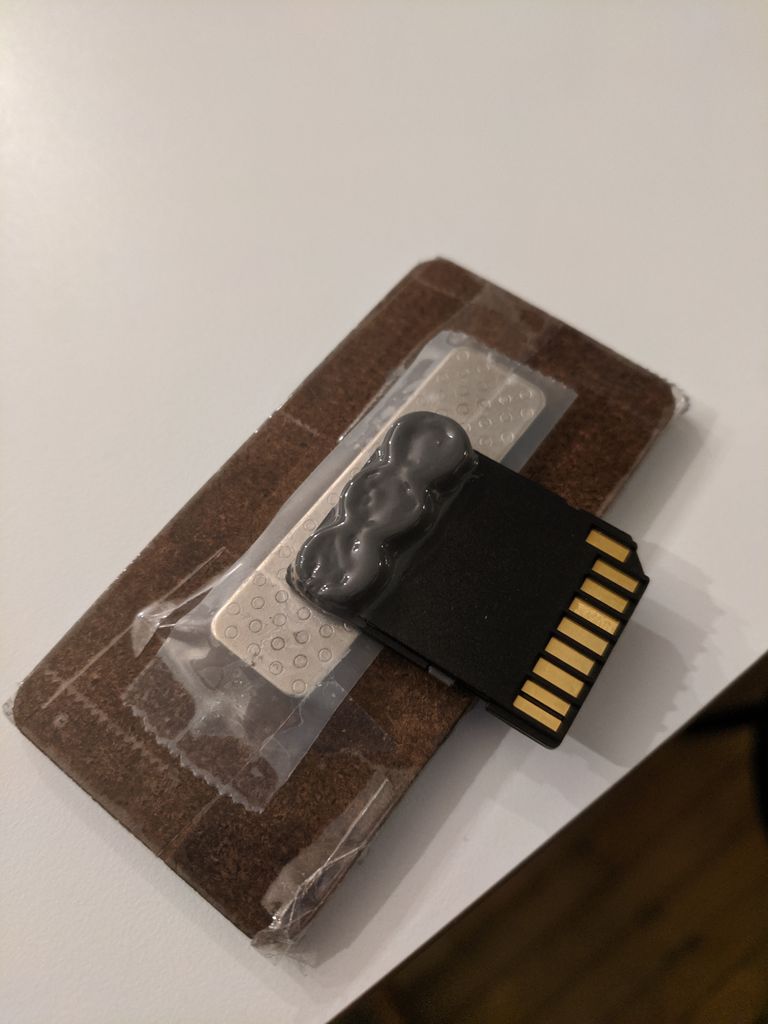
7. To ensure that everything stays in place, take the entire apparatus and place it on a metallic surface that will attract your magnets through the card. I used the other half of my old name tag as this surface, and it ensured that the epoxy was held tightly in place as it cured.
8. Wait 24 hours for the epoxy to fully cure. Note: some epoxies may have different cure times. Follow instructions on packaging, however most epoxies will be fully cured by 24 hours out.


9. Insert your now completed stylus holder into the SD card slot of your computer and try it out! The magnets should be strong enough to hold your stylus in place from most minor jostling and will keep it in place while traveling in a backpack.
Addendum - I considered attaching a tight fabric-elastic sleeve to the top of the SD card either in conjunction with or as opposed to using magnets, but haven't found the need so far. I also had magnets readily available and so used that option. Other options may be to modify a USB drive or USB bluetooth adapter for the same purpose using a "thread the loop" approach.