Controlling of Servo Motor with Arduino and MPU6050 © GPL3+
DESCRIPTION
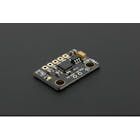
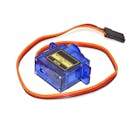
ComponentsConnections
Check the attach diagram for connections
Note: You can also connect SDA and SCL pins of MPU6050 to A4 and A5 pin of Arduino respectively.
ProgrammingInclude the attached library in your arduino IDE, then upload the code in your Arduino board.
NoteCheck the video for complete understanding and subscribe our channel for more.
Thank You.
Components and supplies

Apps and online services

About this project
Description:
ComponentsConnections
Check the attach diagram for connections
Note: You can also connect SDA and SCL pins of MPU6050 to A4 and A5 pin of Arduino respectively.
ProgrammingInclude the attached library in your arduino IDE, then upload the code in your Arduino board.
NoteCheck the video for complete understanding and subscribe our channel for more.
Thank You.
Code
Description:
Schematics
Description:
