Detect Noise via Smartphone Mic with Arduino © CC0
DESCRIPTION
This tutorial explains how to use the power of your smartphone with Arduino, and detect the noise level using the mic in your phone.
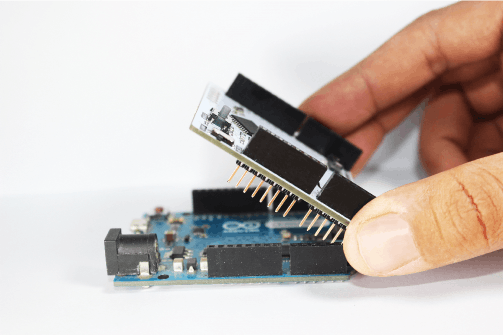
Step 1: Adjust 1Sheeld on top of your Arduino
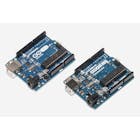
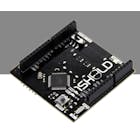
Place your 1Sheeld on your Arduino board then plug the Arduino to your laptop or PC. 1Sheeld works on Arduino (Uno/MegaADK/Mega2560/Leonardo/Due).
Step 2: Install 1Sheeld library in Arduino IDE
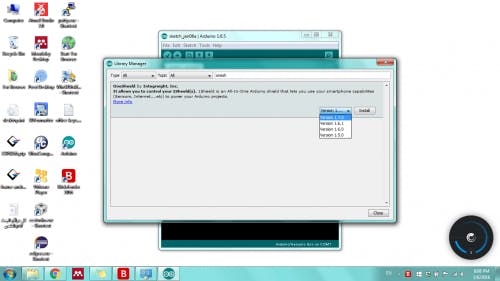
For users having Arduino IDE 1.6.2+ you can download the library by going through these steps
1. In the IDE under Sketch >> Include Library click Manage libraries.
2. Write 1Sheeld in the search area then you will notice a list of versions choose the latest and then click install.
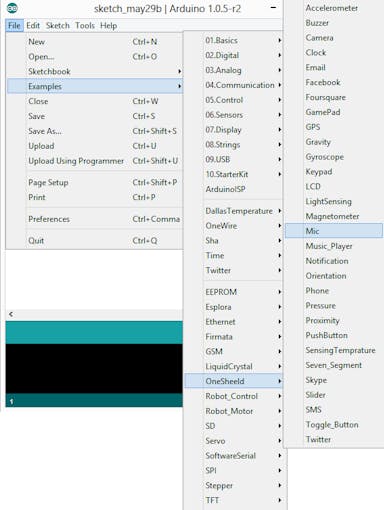
Step 3: Write your sketch
You can open the mic shield example from the examples tab as shown above.
Note: There’s a forced delay inserted in sending any frames from 1Sheeld Library “about 200 msec between each frame sent” to sustain sending/receiving frames between the application and the Arduino.
Step 4: Upload your sketch on Arduino
Here comes the most important part of the whole tutorial, switch 1Sheeld to the Uploading-mode (this is the switch labeled UART Switch on the board) before you upload your sketch to the Arduino board to avoid serial conflicts between 1Sheeld and Arduino, then press the Upload button in the IDE.
Upload mode is turned on when the UART switch is pushed away from the 1Sheeld logo.
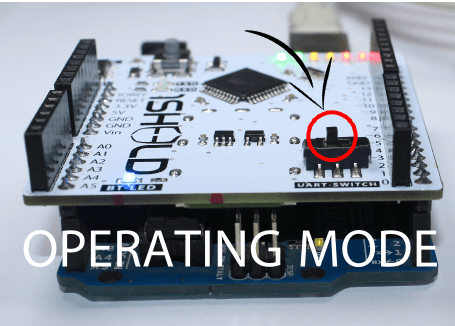
Don’t forget! If you don’t switch the UART Switch back to the operating mode your project will not work properly as you will have no communication between 1Sheeld and the Arduino board.
Operating mode is turned on when the UART switch is pushed closest to the 1Sheeld logo.
Step 5: Download 1Sheeld app
Our app is available on Apple play store and Google play store
Step 6: Open Mic shield in 1Sheeld app
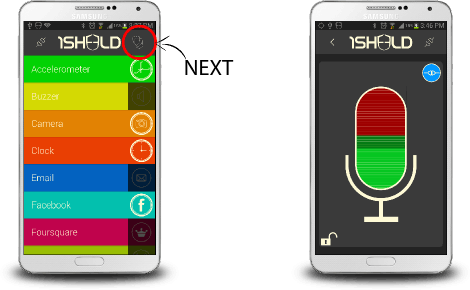
Select the shields you would like to use in your Arduino sketch (project) and press on the multiple shields icon at the top right of the app.
In this case, use the Mic shield and have fun prototyping!
Check the noise level and watch the LED blink as the noise level increases.

