Interrupt Servie Routines using an Arduino 2560 Mega © GPL3+
DESCRIPTION
The primary purpose of this project is to demonstrate the interrupt system on the Arduino. I used an Arduino Mega 2560 because I needed four hardware interrupts, one per message. Each interrupt invokes its own ISR (Interrupt Service Routine.)


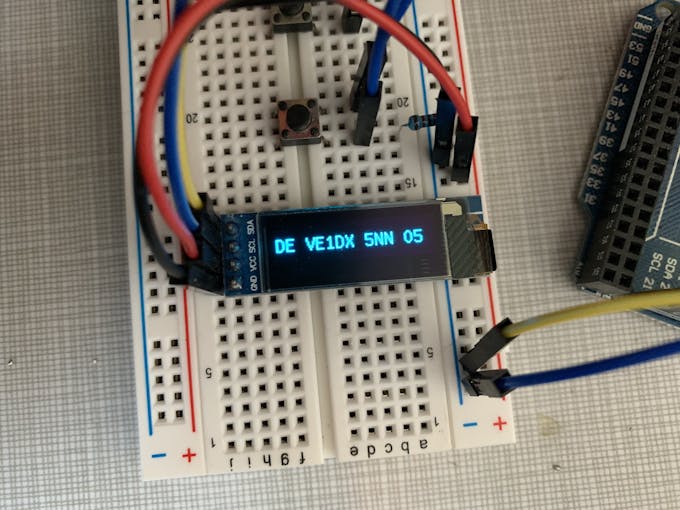

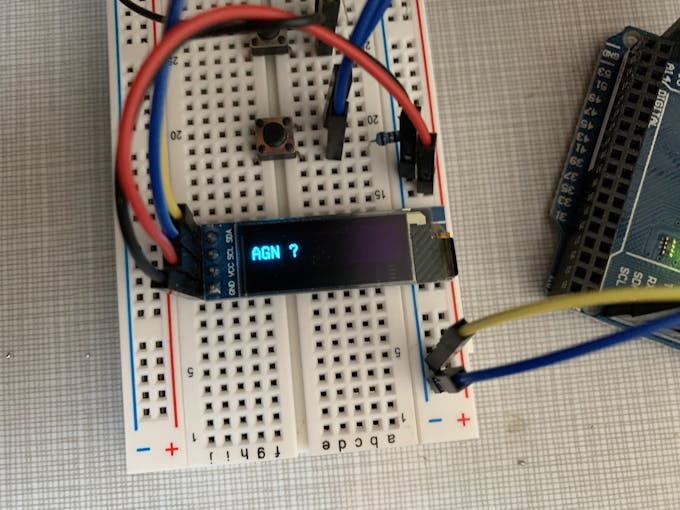
This project is a Morse Code (CW) program to emulate a Memory Keyer with a speaker and a flashing LED. It has four pre-defined memories, similar to traditional Ham Radio memory keyers. The text is shown on a 0.91" OLED display. Users can change these four messages to anything they want by altering them in the code. It would also be relatively simple to send the output to a transmitter to key a Ham radio. However, most modern transceivers have built-in memory keyers, and you can buy similar stand-alone keyers to do this. That said, there's nothing like building your own! If nothing else, it's a tool for learning Morse Code by ear. The sketch sends the code relatively fast, and this can be slowed down (or increased) by changing one value, "dotLength" up or down from the default value of 40.
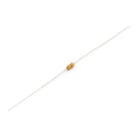
When learning how to use Arduinos, I struggled with hardware interrupts and how to link them to Interrupt Service Routines properly. The documentation is quite clear once you know how to do it, but like many, I learn by doing and following examples. I couldn't find a lot of samples on the Internet that did what I wanted, so I did what I should have done in the first place; study the documentation and learn to do it correctly on my own. It's quite easy once you understand the concept, and hopefully, this project will inspire other Arduino aficionados to use this powerful aspect of the hardware/software interaction. Note that in addition to the push buttons, each pin has a 10K pullup resistor.
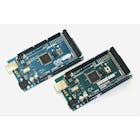


The primary purpose of this project is to demonstrate the interrupt system on the Arduino. I used an Arduino Mega 2560 because I needed four hardware interrupts, one per message. Each interrupt invokes its own ISR (Interrupt Service Routine.)
This project is a Morse Code (CW) program to emulate a Memory Keyer with a speaker and a flashing LED. It has four pre-defined memories, similar to traditional Ham Radio memory keyers. The text is shown on a 0.91" OLED display. Users can change these four messages to anything they want by altering them in the code. It would also be relatively simple to send the output to a transmitter to key a Ham radio. However, most modern transceivers have built-in memory keyers, and you can buy similar stand-alone keyers to do this. That said, there's nothing like building your own! If nothing else, it's a tool for learning Morse Code by ear. The sketch sends the code relatively fast, and this can be slowed down (or increased) by changing one value, "dotLength" up or down from the default value of 40.
When learning how to use Arduinos, I struggled with hardware interrupts and how to link them to Interrupt Service Routines properly. The documentation is quite clear once you know how to do it, but like many, I learn by doing and following examples. I couldn't find a lot of samples on the Internet that did what I wanted, so I did what I should have done in the first place; study the documentation and learn to do it correctly on my own. It's quite easy once you understand the concept, and hopefully, this project will inspire other Arduino aficionados to use this powerful aspect of the hardware/software interaction. Note that in addition to the push buttons, each pin has a 10K pullup resistor.
