LASER Tripwire Alarm - Arduino © GPL3+
DESCRIPTION
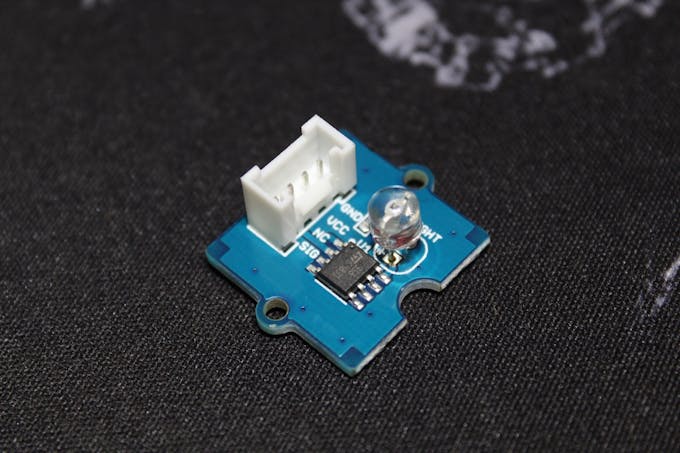
Hi, this tutorial is about "Grove Light Sensor" based project, there are two versions of the project, and as you read it it's a LASER Tripwire Alarm, one that you can set with a simple push button, the other one is more secure and requires a passcode.
A tripwire is a device triggered by physical movements, you can use it to detect people, animals, cars... when they pass through an area. This one is based on a LASER emitter, that constantly sends beams to the light sensor, and when someone/something passes, the sensor won't receive the beams, and the alarm is triggered, and won't stop until you resest it (push button/passcode).
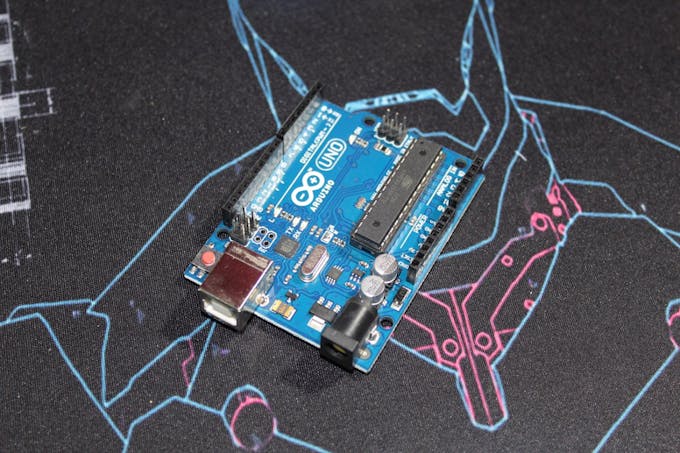
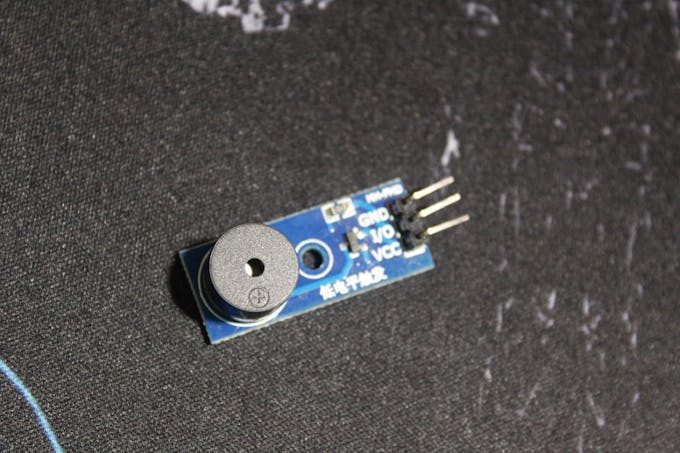
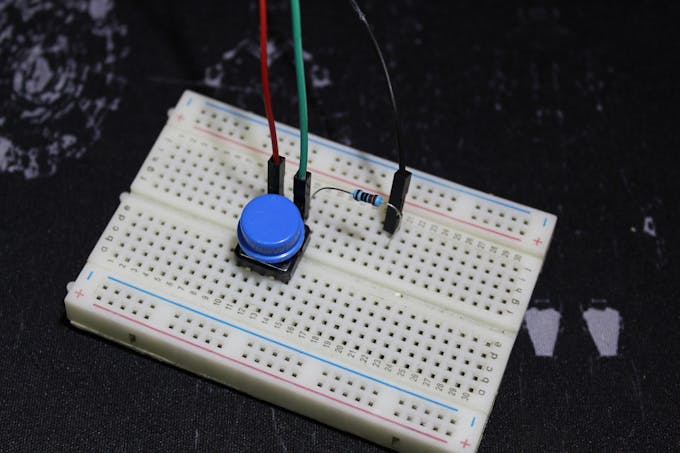
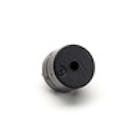
Parts
Those are the parts used along side some jump wires


Version 1
This project is based on the module, LASER module, a Buzzer, and a push button, the idea is very simple, the LASER is constantly projecting light to the module sensor, when a person or something passes through the light beam, the sensor will not detect the light anymore (When the light stops, the LDR will increase resistance, which means less current will pass, and we’ll get a voltage drop).
Example: At indoor light the sensor will give a value of around “750” when using the “analogRead” function while using Arduino it’s around “3.66V” (1023 for 5V), but when you cover the sensor it will show a value around “10-15” that stands for “40mV”. So it’s better to cover or put the sensor in a case where only the LASER beams can reach.
Once the LASER beams are cut, the alarm will go off and will not stop until the push button is pressed even though the module detects the LASER again.
Below you'll find wiring and code
Version 2
The v2 is pretty much like the v1 just instead of stopping the alarm with a simple push button, now it requires a passcode entered by the keypad to stop it, otherwise it won’t.
The passcode is stored in an array, I chosed 4 digits code, you can make it longer or shorter, just modify the array size, and add or remove values.
short code[4]={'1','3','6','6'}; To turn the alarm off, you should press ‘*’ on the keypad, then enter the numbers 1, 3, 6, 6, the code will fix the buzzer in a single frequency (disturbing) sound until you enter 4 digits, if they are correct the alarm will stop, otherwise it will go off again.
void Getpass(){
tone(13,2000);
for(short i=0 ; i<4 ; i++)
 {
      char keypressed = myKeypad.waitForKey();
      if (keypressed==code[i])
      a++;
 }
}
Every time you enter a correct digit “a” value increases, if it’s == 4, the code is considred correct, otherwise the number will never be equal to 4.
 if(a==4){
   noTone(13);
   a=0;
   detection=false;
         }
Test
This is a test video for both versions, the video is loud !!!
 |
| × | 1 | |||
 |
| × | 1 | |||
| × | 1 | ||||
 |
| × | 1 | |||
| × | 1 | ||||
| × | 1 |

Hi, this tutorial is about "Grove Light Sensor" based project, there are two versions of the project, and as you read it it's a LASER Tripwire Alarm, one that you can set with a simple push button, the other one is more secure and requires a passcode.
A tripwire is a device triggered by physical movements, you can use it to detect people, animals, cars... when they pass through an area. This one is based on a LASER emitter, that constantly sends beams to the light sensor, and when someone/something passes, the sensor won't receive the beams, and the alarm is triggered, and won't stop until you resest it (push button/passcode).
Parts
Those are the parts used along side some jump wires
Version 1
This project is based on the module, LASER module, a Buzzer, and a push button, the idea is very simple, the LASER is constantly projecting light to the module sensor, when a person or something passes through the light beam, the sensor will not detect the light anymore (When the light stops, the LDR will increase resistance, which means less current will pass, and we’ll get a voltage drop).
Example: At indoor light the sensor will give a value of around “750” when using the “analogRead” function while using Arduino it’s around “3.66V” (1023 for 5V), but when you cover the sensor it will show a value around “10-15” that stands for “40mV”. So it’s better to cover or put the sensor in a case where only the LASER beams can reach.
Once the LASER beams are cut, the alarm will go off and will not stop until the push button is pressed even though the module detects the LASER again.
Below you'll find wiring and code
Version 2
The v2 is pretty much like the v1 just instead of stopping the alarm with a simple push button, now it requires a passcode entered by the keypad to stop it, otherwise it won’t.
The passcode is stored in an array, I chosed 4 digits code, you can make it longer or shorter, just modify the array size, and add or remove values.
short code[4]={'1','3','6','6'};
To turn the alarm off, you should press ‘*’ on the keypad, then enter the numbers 1, 3, 6, 6, the code will fix the buzzer in a single frequency (disturbing) sound until you enter 4 digits, if they are correct the alarm will stop, otherwise it will go off again.
void Getpass(){
tone(13,2000);
for(short i=0 ; i<4 ; i++)
{
char keypressed = myKeypad.waitForKey();
if (keypressed==code[i])
a++;
}
}
Every time you enter a correct digit “a” value increases, if it’s == 4, the code is considred correct, otherwise the number will never be equal to 4.
if(a==4){
noTone(13);
a=0;
detection=false;
}
Test
This is a test video for both versions, the video is loud !!!

