LEARN TO MAKE MINI QUADCOPTER
STEPS HOW TO MAKE MINI QUADCOPTER
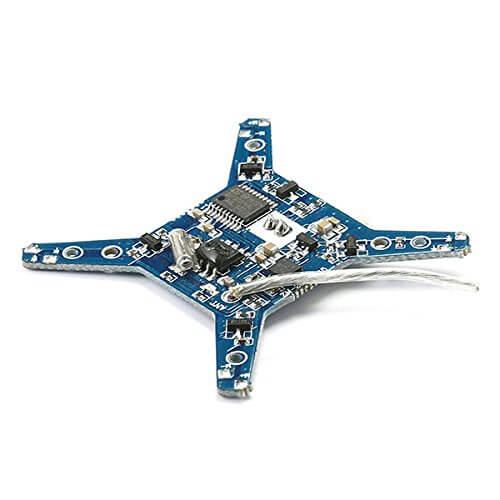
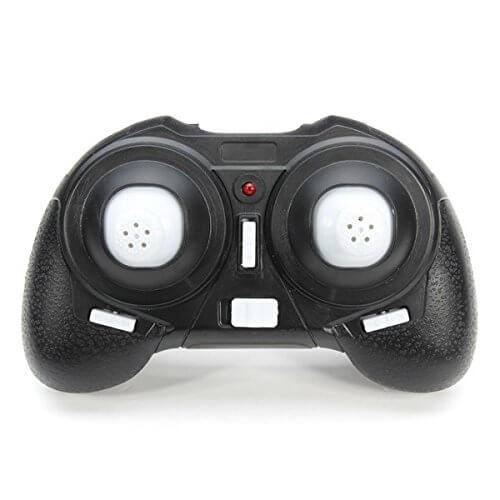
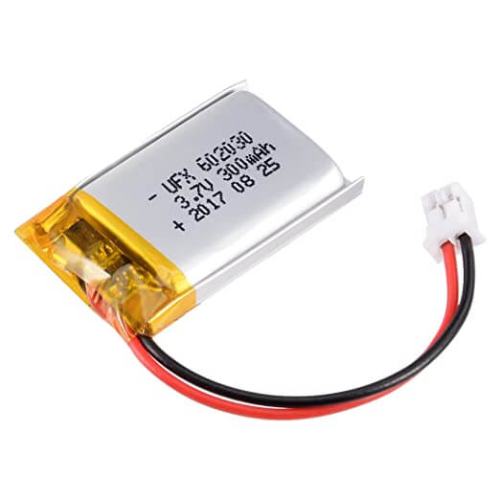
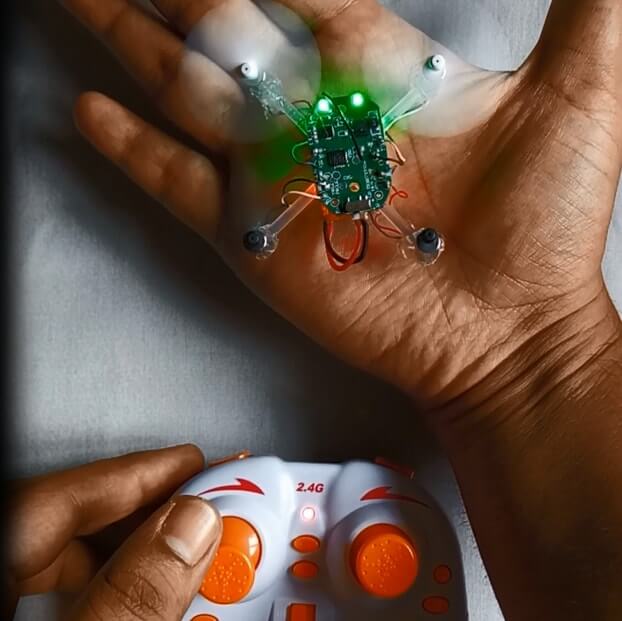
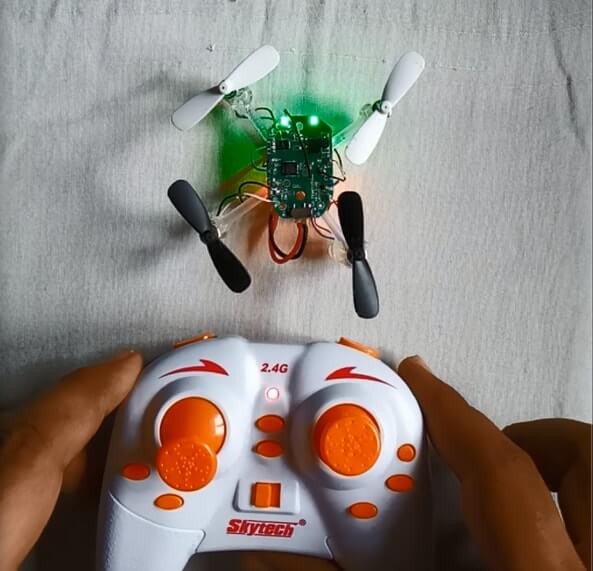
Micro Scisky Flight Controller This is the standard flight controller based of the Naze FC many people use for micro quads, is light its powerful and fun to fly! 8.5mm Motors + Prop Combo A very good deal, You get 4 Coreless motors 2x Clockwise Motor(With Red Blue), 2x Anti-clockwise Motor(With Black White) and 8 Propellers. 3.7v Battery You get 7x 750 Mah Batteries! It even comes with a charger, You will not find a better deal than that A DSM2 TX I use the MKron T - SIX i6S It was a lot cheaper than buying a Tyranis dsm2 module FPV Gear
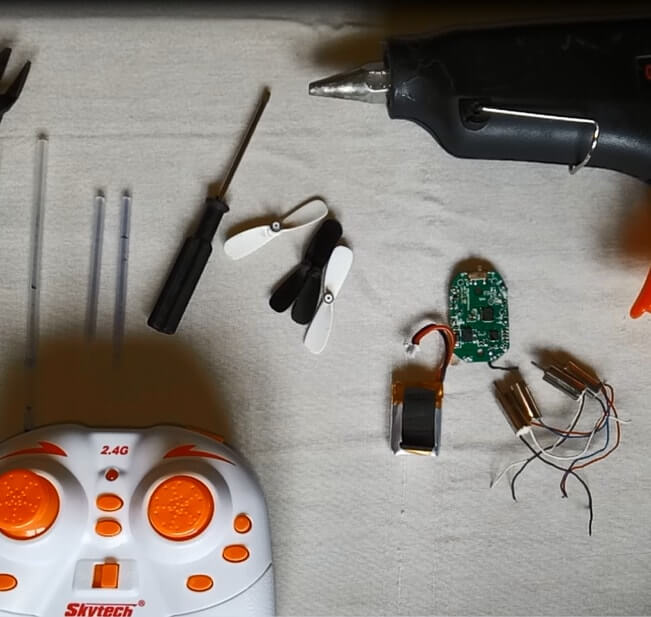
FPV Goggles A great deal and it comes with its own battery. Its a little difficult to shange the channels, I actually ended up snapping the DIP switch with my genius idea to use a mini screwdriver to flip the switches. FPV TX and FPV Camera Although this turned to be quite heavy, had I done it differently I would have used the Spektrum FPV Micro Camera. Ive heard its a great overall deal and had I built this quad again I would use the Spektrum. And various tools im assuming you already have (Soldering Iron, Hot glue gun, Heatshrink).
I also used a 3d Printer for the frame, But if you wanted to I've seen people make micro quad frames out of Popsicle sticks! It doesn't have to be perfect, any rough shape of a quadcopter will work if its light enough. Side note you may have noticed a sudden jump in my video quality, I attribute that to my new tripod . Until November 24 there is a deal and you can get it 10% off! (use the Coupon: 7617f5 before the deadline:Nov 24th). Now lets get to the build!
Depending on where you buy your motors, most motors follow a typical Blue/Red: Clockwise Black/White: Counter Clockwise Format. If your unsure, I would check with you dealer or read the items description. Normally Red is Positive and Blue is Negative, White is Positive and Black is negative. But once again if you buy your motors from somewhere else, you could be on your own. Check and double check to make sure you don't create a short on accident
Wiring the Flight Controller is quite easy. The board is clearly marked with a 3.7v positive and negative in the dead center for the battery. Using a female JST connector, I soldered the wires to the respective terminals The Motor terminals were also clearly marked, with make wiring a breeze. Simply solder motor 1 to the motor 1 mount, motor 2 to the motor 2 mount and so on... And that was it! With the pack of 3.7v batteries that came with a charger, however they came with a different connector. To solve this, I cut the leads of the lipo (Making sure not to short it out) and soldered on a male JST connector,since the FC got a male JST connector. To add the FPV camera I plugged the camera into the fpv tx and soldered the 3.7-5v input straight to the flight controllers input so they "shared" the battery in parallel. The fpv Tx operates on 3.7, that's the same voltage were using. Perfect!!!
This is the most difficult part of the build and requires patience (You will get through it!). First I plugged the fc into CleanFlight and began the programming Be sure not to plug in the battery at the same time as the USB plug as it can fry your board. Once I plugged in the board, I flashed the fc with the latest NAZE software and connected to cleanflight. In CleanFlight, first I choose Quad X and enabled motor stop. I wandered on over to the Receiver page and checked RX_PPM and the channel map TAER 1234, if the channels are out of order you can rearrange the order by clicking and typing something like AETR1234(I hope that saves you the annoyance that caused me). I set minimum throttle 1000, mid throttle 1500, Maximum throttle 2000, Minimum command 1000. Strangely I used a failsafe drop on this quad. I decided the frame was sturdy enough to take a drop and didn't want it to slowly hover down.
In the Modes tab, Click add range and then using the channels on your TX add modes. Keep in mind you must add an Arming Switch for the micro scisky. Next I chose a flight mode, Normally I stick to acro (No flight modes enabled) However this is your quad! Choose any mode you like to fly in. I recommend Horizon to learn to fly. In the CLI tap Type: set motor_pwm_rate=23200 (others use 32000) Then: save press enter Then Tune PID to your likings and save! Dont forget to save on every page or your work will be lost!
Next it was time to bind the fc and the TX. Plug in the Scisky and wait 10 seconds for the red light to begin flashing. This means your in Bind mode, so Power on the TX and hold down the bind switch on the back. Once the light turns solid red, your ready for Props! The Props I used were tri blade for better thrust and came with the 8.5mm motors. An easy trick to know with propeller goes to which motor is to envision them spinning. Imagine the propellor is a spinning threaded bolt, and the air is a nut. find the trailing edge and imagine which way to "screw" the propellor into the air Clockwise or Counter Clockwise. Then take those and place them onto the corresponding motors! All four should screw the quad upwards through the air on their respective motor. Plug the battery in, connect the fpv camera and your goggles and let the throttle rip! Remember your not flying around a massive quad, take the micro in tight spaces and indoors!